VS2022 有模板幫你建置一套 ASP.NET CORE 搭配 React 或是 Angular,但是沒有 Vue 的模板
可是因為公司需要使用Vue3搭配MVC,所以後來試者自己模仿 VS2022 給的模板,做一個可以用 Vue 的 MVC 專案
版本: .NET 6 & Vue.js 3.0
建立MVC和VueApp
首先建立一個用 VS2022 建立一個 MVC 專案
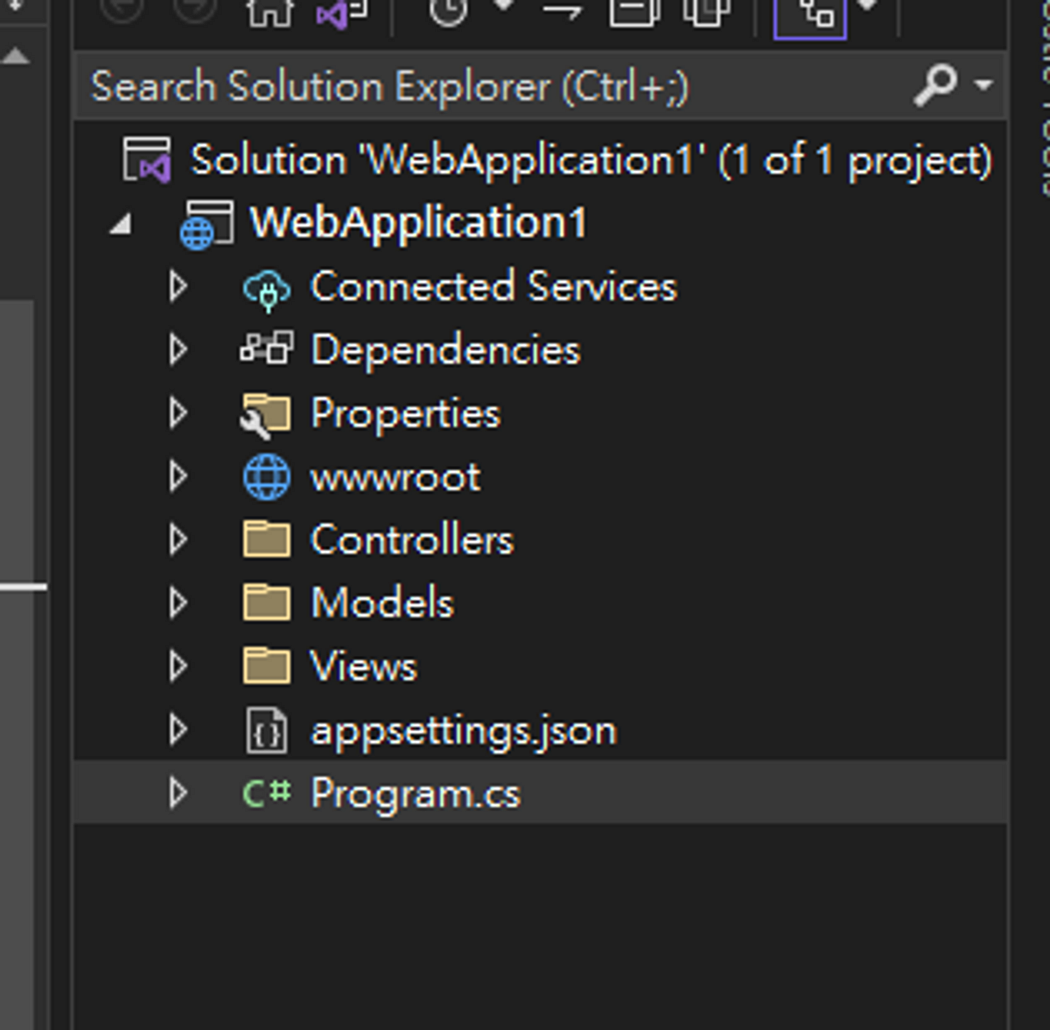
在 terminal 下指令
npx vue create client-app選 Vue3
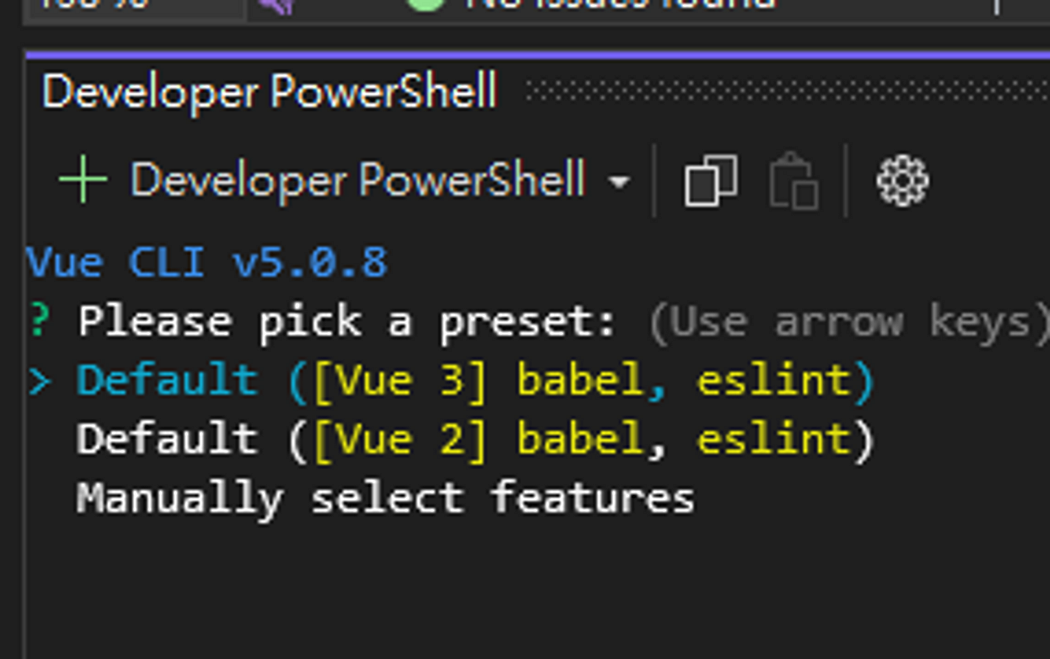
安裝完後,下指令
npm install
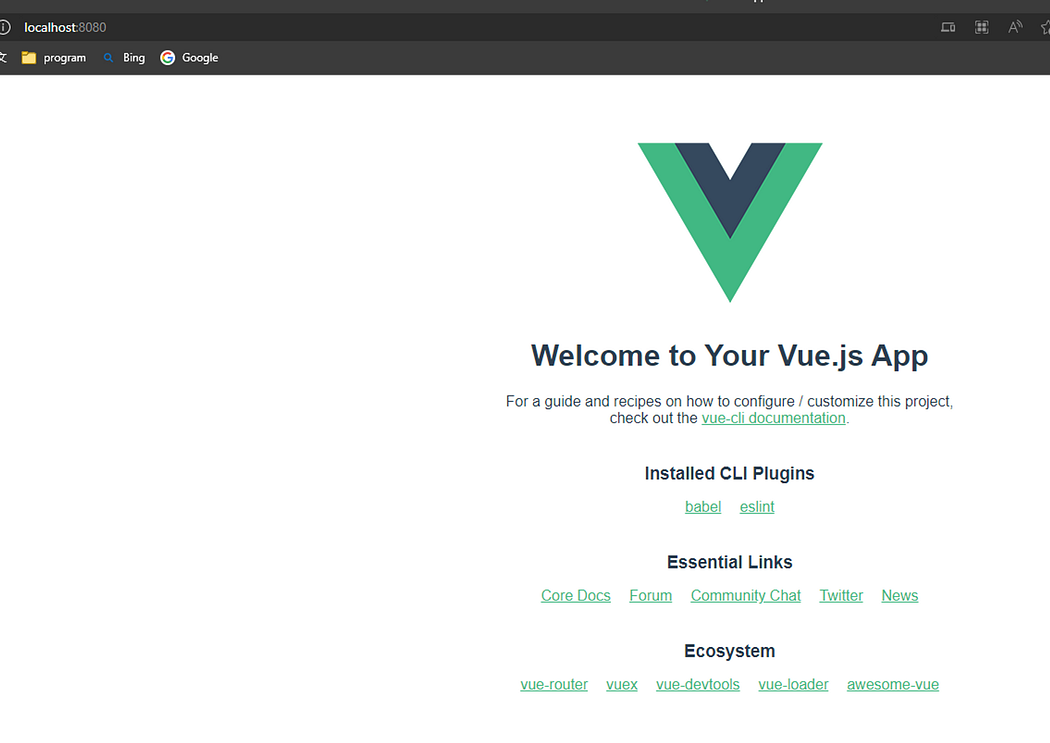
npm run serve
在 瀏覽器 應該可以看到妳的新 Vue3 網站
最後下一次
npm run build會發現 Vue 的 編譯完後的資料夾名為 dist
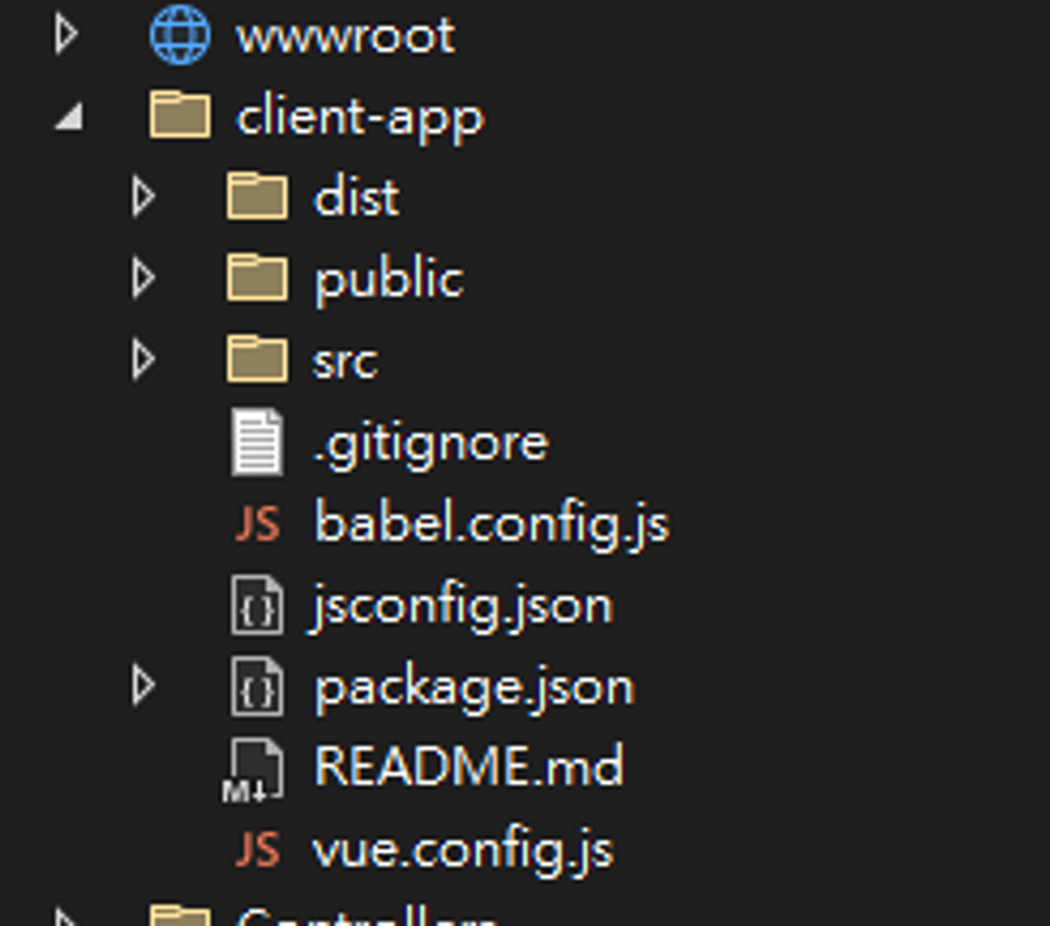
📌 最後記得刪掉 client-app 裡面的 .git folder
SpaProxy設定
到 NUGET 安裝 Microsoft.AspNetCore.SpaProxy 套件
記得要安裝 .NET 6 的版本
安裝完,你的 csproj 檔案裡面應該要多一段,沒有得話,自己加上去也可以
<ItemGroup>
  <PackageReference Include="Microsoft.AspNetCore.SpaProxy" Version="6.0.16" />
</ItemGroup>
csproj
再到套件的文件
Overview of Single Page Applications (SPA) in ASP.NET Core
依照他的說明,對 Project file 進行設定
PropertyGroup 的 SpaRoot 的設定是 前端框架專案的根目錄,所以把它改成 client-app
<SpaRoot>client-app\</SpaRoot>SpaProxyServerUrl 是設定Proxy套件要請求轉址的網址,改成 Vue3 預設的 http 和 8080
<SpaProxyServerUrl>http://localhost:8080</SpaProxyServerUrl>SpaProxyLaunchCommand 是設定Proxy套件發現 前端網址沒有啟動時,要執行的指令
<SpaProxyLaunchCommand>npm run serve</SpaProxyLaunchCommand>這段裡面的 DistFiles 要把 資料夾名稱改成 dist
<Target Name="PublishRunWebpack" AfterTargets="ComputeFilesToPublish">
  <!-- As part of publishing, ensure the JS resources are freshly built in production mode -->
  <Exec WorkingDirectory="$(SpaRoot)" Command="npm install" />
  <Exec WorkingDirectory="$(SpaRoot)" Command="npm run build" />

  <!-- Include the newly-built files in the publish output -->

<ItemGroup>
    <DistFiles Include="$(SpaRoot)dist\**" />
    <ResolvedFileToPublish Include="@(DistFiles->'%(FullPath)')" Exclude="@(ResolvedFileToPublish)">

<RelativePath>wwwroot\%(RecursiveDir)%(FileName)%(Extension)</RelativePath>

<CopyToPublishDirectory>PreserveNewest</CopyToPublishDirectory>

<ExcludeFromSingleFile>true</ExcludeFromSingleFile>
    </ResolvedFileToPublish>
  </ItemGroup>
</Target>
最後設定完的樣子 (csproj)
<Project Sdk="Microsoft.NET.Sdk.Web">

<PropertyGroup>

<TargetFramework>net6.0</TargetFramework>

<Nullable>enable</Nullable>

<TypeScriptCompileBlocked>true</TypeScriptCompileBlocked>

<TypeScriptToolsVersion>Latest</TypeScriptToolsVersion>

<IsPackable>false</IsPackable>

<SpaRoot>client-app\</SpaRoot>

<DefaultItemExcludes>$(DefaultItemExcludes);$(SpaRoot)node_modules\**</DefaultItemExcludes>

<SpaProxyServerUrl>http://localhost:8080</SpaProxyServerUrl>

<SpaProxyLaunchCommand>npm run serve</SpaProxyLaunchCommand>

<ImplicitUsings>enable</ImplicitUsings>
  </PropertyGroup>

<ItemGroup>
    <PackageReference Include="Microsoft.AspNetCore.SpaProxy" Version="6.0.16" />
  </ItemGroup>

<ItemGroup>
    <!-- Don't publish the SPA source files, but do show them in the project files list -->
    <Content Remove="$(SpaRoot)**" />
    <None Remove="$(SpaRoot)**" />
    <None Include="$(SpaRoot)**" Exclude="$(SpaRoot)node_modules\**" />
  </ItemGroup>

  <Target Name="DebugEnsureNodeEnv" BeforeTargets="Build" Condition=" '$(Configuration)' == 'Debug' And !Exists('$(SpaRoot)node_modules') ">
    <!-- Ensure Node.js is installed -->
    <Exec Command="node --version" ContinueOnError="true">
      <Output TaskParameter="ExitCode" PropertyName="ErrorCode" />
    </Exec>
    <Error Condition="'$(ErrorCode)' != '0'" Text="Node.js is required to build and run this project. To continue, please install Node.js from https://nodejs.org/, and then restart your command prompt or IDE." />
    <Message Importance="high" Text="Restoring dependencies using 'npm'. This may take several minutes..." />
    <Exec WorkingDirectory="$(SpaRoot)" Command="npm install" />
  </Target>

  <Target Name="PublishRunWebpack" AfterTargets="ComputeFilesToPublish">
    <!-- As part of publishing, ensure the JS resources are freshly built in production mode -->
    <Exec WorkingDirectory="$(SpaRoot)" Command="npm install" />
    <Exec WorkingDirectory="$(SpaRoot)" Command="npm run build" />

    <!-- Include the newly-built files in the publish output -->

<ItemGroup>
      <DistFiles Include="$(SpaRoot)dist\**" />
      <ResolvedFileToPublish Include="@(DistFiles->'%(FullPath)')" Exclude="@(ResolvedFileToPublish)">

<RelativePath>wwwroot\%(RecursiveDir)%(FileName)%(Extension)</RelativePath>

<CopyToPublishDirectory>PreserveNewest</CopyToPublishDirectory>

<ExcludeFromSingleFile>true</ExcludeFromSingleFile>
      </ResolvedFileToPublish>
    </ItemGroup>
  </Target>

</Project>
launch setting
到 Properties/launchSettings.json 底下,增加環境變數(environmentVariables)設定
"ASPNETCORE_HOSTINGSTARTUPASSEMBLIES": "Microsoft.AspNetCore.SpaProxy"最後設定完的樣子 (launchSetting.json)
{
  "iisSettings": {
    "windowsAuthentication": false,
    "anonymousAuthentication": true,
    "iisExpress": {
      "applicationUrl": "http://localhost:10424",
      "sslPort": 44314
    }
  },
  "profiles": {
    "WebApplication1": {
      "commandName": "Project",
      "dotnetRunMessages": true,
      "launchBrowser": true,
      "applicationUrl": "https://localhost:7043;http://localhost:5043",
      "environmentVariables": {
        "ASPNETCORE_ENVIRONMENT": "Development",
        "ASPNETCORE_HOSTINGSTARTUPASSEMBLIES": "Microsoft.AspNetCore.SpaProxy"
      }
    },
    "IIS Express": {
      "commandName": "IISExpress",
      "launchBrowser": true,
      "environmentVariables": {
        "ASPNETCORE_ENVIRONMENT": "Development",
        "ASPNETCORE_HOSTINGSTARTUPASSEMBLIES": "Microsoft.AspNetCore.SpaProxy"
      }
    }
  }
}
Program.cs
在ASP.NET的Program.cs設定最後面要加上這段,讓app預設為靜態檔案的index.html
app.MapFallbackToFile("index.html");測試
用 VS2022 建立一個 測試用的 ValuesController
ValuesController
using Microsoft.AspNetCore.Mvc;

// For more information on enabling Web API for empty projects, visit https://go.microsoft.com/fwlink/?LinkID=397860

namespace WebApplication1.Controllers
{
    [Route("api/[controller]")]
    [ApiController]
    public class ValuesController : ControllerBase
    {
        // GET: api/
<ValuesController>
        [HttpGet]
        public IEnumerable
<string> Get()
        {
            return new string[] { "value1", "value2" };
        }

        // GET api/
<ValuesController>/5
        [HttpGet("{id}")]
        public string Get(int id)
        {
            return "value";
        }

        // POST api/
<ValuesController>
        [HttpPost]
        public void Post([FromBody] string value)
        {
        }

        // PUT api/
<ValuesController>/5
        [HttpPut("{id}")]
        public void Put(int id, [FromBody] string value)
        {
        }

        // DELETE api/
<ValuesController>/5
        [HttpDelete("{id}")]
        public void Delete(int id)
        {
        }
    }
}
對 Vue 3 做proxy 設定,打開 vue.config.js
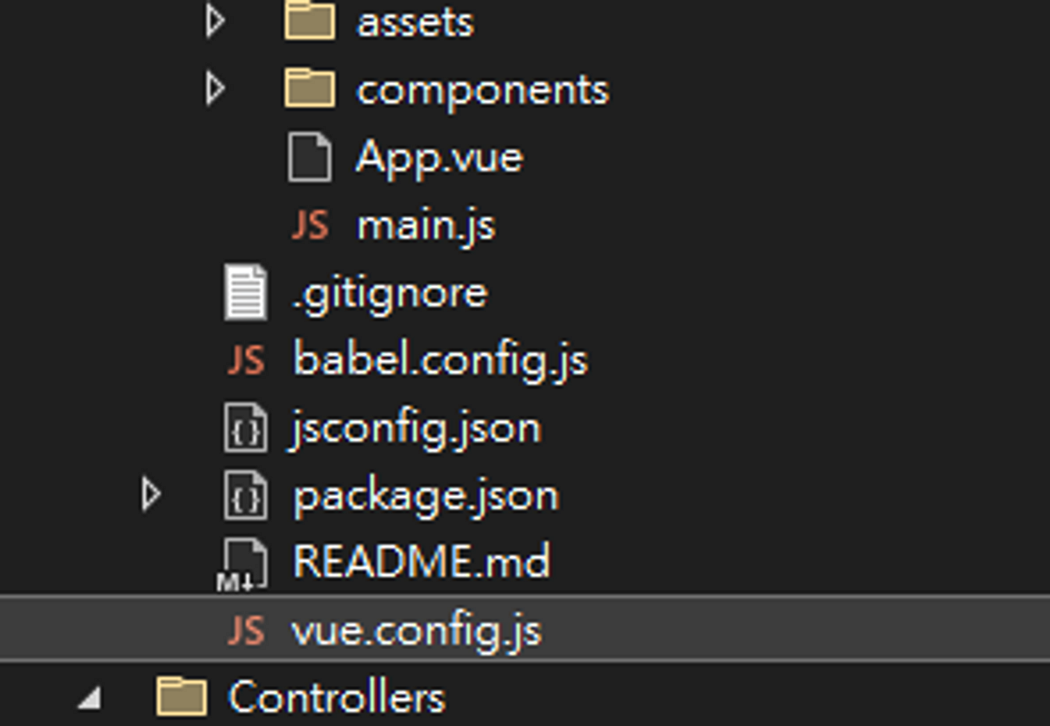
加上下面這段,因為 api server 還是 https://localhost:7043 ,如果你的 後端沒有做 CORS設定,那就必須在 Vue 這裡做設定
devServer: {
    proxy: {
        '/api': {
            target: 'https://localhost:7043',
            changeOrigin: true,
            secure: false,
        }
    }
}
最後的 vue.config.js
const { defineConfig } = require('@vue/cli-service')
module.exports = defineConfig({
    transpileDependencies: true,
    devServer: {
        proxy: {
            '/api': {
                target: 'https://localhost:7043',
                changeOrigin: true,
                secure: false,
            }
        }
    }
})
最後在 App.vue 試試看能不能透過 /api 來取得 ValuesController 的資料
在App.vue增加程式碼
<template>
    <img alt="Vue logo" src="./assets/logo.png">
    <div :key="item" v-for="(item) in jsonResult">
        {{item}}
    </div>
    <HelloWorld msg="Welcome to Your Vue.js App" />
</template>

<script>
    import { ref, onMounted } from 'vue'
    import HelloWorld from './components/HelloWorld.vue'

    export default {
        name: 'App',
        components: {
            HelloWorld
        },
        setup() {
            const jsonResult = ref([])

            const test = async () => {
                const response = await fetch("/api")
                jsonResult.value = await response.json();
            }

            onMounted(() => {
                test()
            })

            return {
                jsonResult,
            }
        }
    }
</script>

<style>
    #app {
        font-family: Avenir, Helvetica, Arial, sans-serif;
        -webkit-font-smoothing: antialiased;
        -moz-osx-font-smoothing: grayscale;
        text-align: center;
        color: #2c3e50;
        margin-top: 60px;
    }
</style>
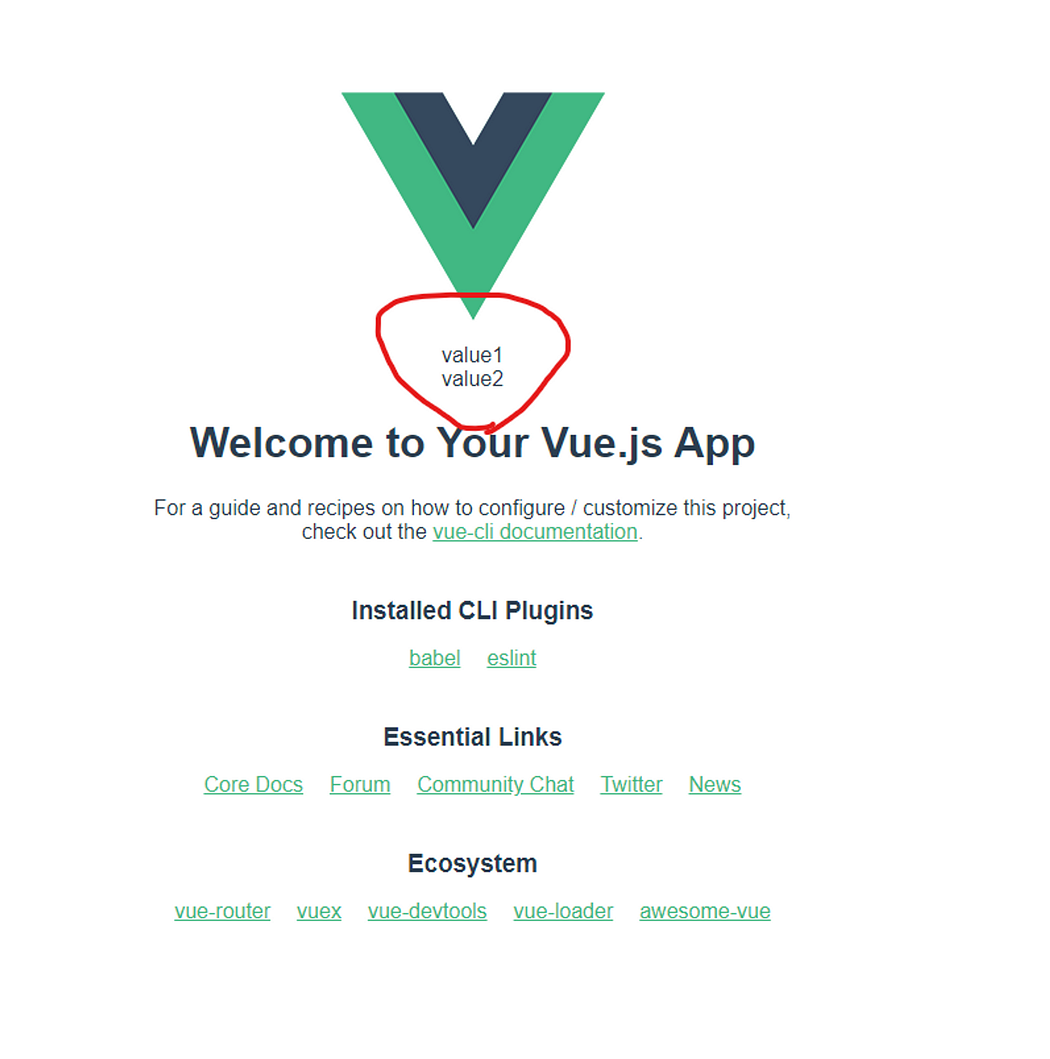
最後可以直接點擊VS2022上方DEBUG按鈕
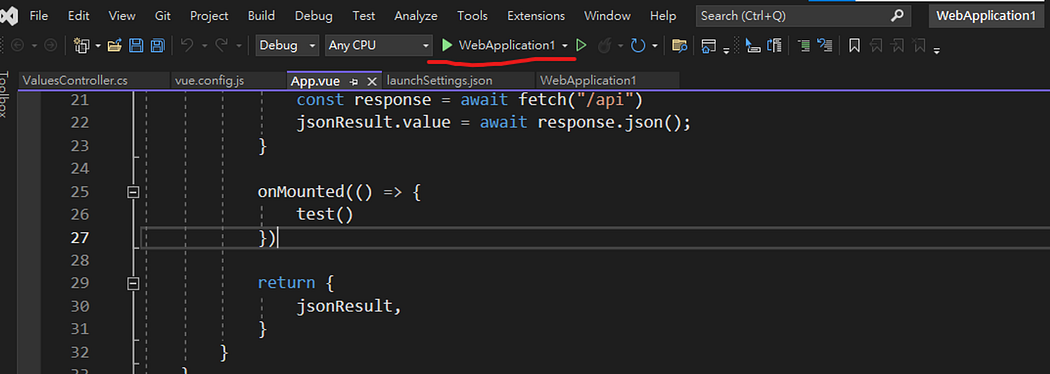
結果可以成功看到API回傳的value陣列